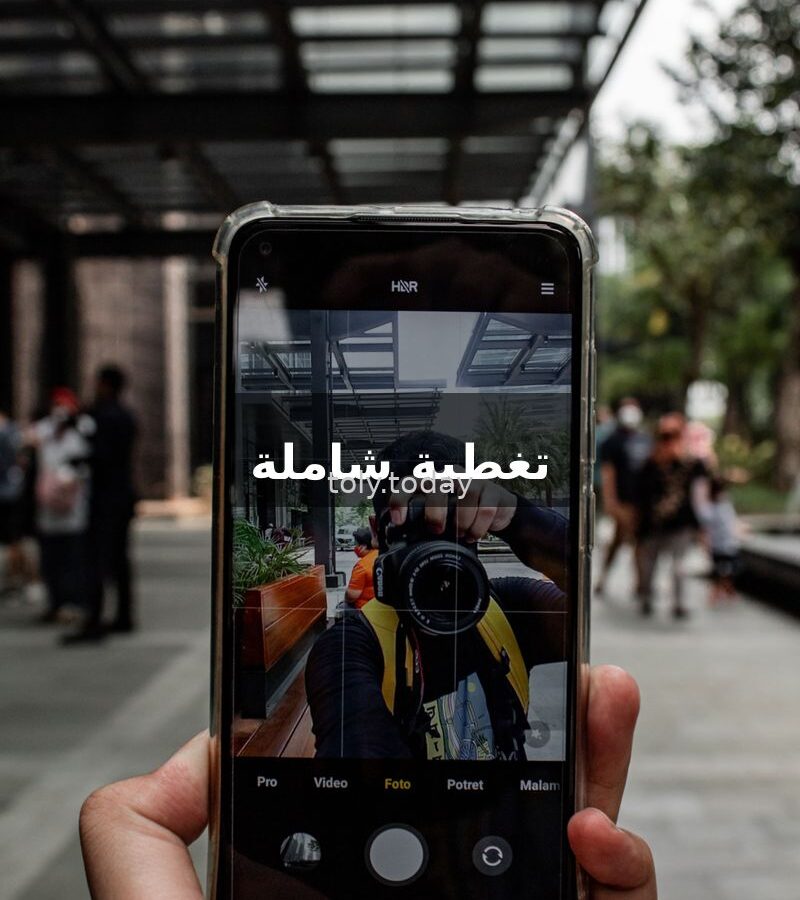
Do you take photos with your phone but the results don’t impress you? You’re not alone. Mobile photography is accessible to everyone, but knowing the basics is what sets ordinary photos apart from stunning ones. In this simple guide, we’ll cover the basics of mobile photography and practical tips to improve your photos instantly.
The Golden Rule: Rule of Thirds
The simplest and most important rule in photography. Divide the screen into 9 sections (3×3) using two horizontal and two vertical lines. Place the main element of the photo at the intersection of these lines. Most phone cameras offer a grid (Grid) in the settings — enable this feature first.

Lighting is Everything
Small cameras in phones need good lighting. The best lighting is natural during the golden hour — an hour after sunrise and an hour before sunset. Avoid shooting against strong light. If you’re in a dark place, use available lighting instead of the phone’s flash, which can ruin the photo.
Clean the Lens First
It may seem simple, but your phone’s lens constantly collects dust and fingerprints. Wipe it with a soft, clean cloth before every photo session — you’ll notice the difference in clarity immediately.
Stable Phone = Clear Photo
Shaky hands cause blurry photos. Bend your elbows against your body or rest the phone on a stable surface. Some phones support Optical Image Stabilization (OIS) — but even with that, a steady hand makes a difference.
Don’t Use Digital Zoom
Digital zoom enlarges the photo but reduces quality and introduces noise. Instead, move closer physically. If you can’t, take the photo from a distance and crop it later — the result will be much better.
Manual Focus and Exposure
Instead of letting the camera control everything, tap the screen on the element you want to focus on. Swipe your finger up or down to adjust the lighting. This feature is available on all smartphones and gives you greater control over the final image.
Use the Pro Mode
Most mid-range and high-end phones offer a manual mode. You can control ISO (light sensitivity), shutter speed, and white balance. Try these settings in a non-critical environment until you get used to them — you’ll be surprised by the results.
Important Tips for Beginners
- Shoot in RAW format if your phone supports it — it gives you more flexibility for later editing.
- Keep your phone’s storage free — high-resolution photos take up a lot of space.
- Try different angles — bend down, climb up, shoot from below.
- Use editing apps like Snapseed or Lightroom Mobile for final touches.
- Learn to read lighting — soft shadows are better than harsh direct light.
❓ Frequently Asked Questions
Who needs to learn mobile photography basics?
Anyone who owns a smartphone and wants to improve their photos — whether for social media, documenting memories, or even semi-professional photography.
Where can I apply these tips?
Everywhere! At home, while traveling, at family events, or even when photographing products. The same principles apply in any environment.
How much does it cost to learn mobile photography?
Completely free. You don’t need to buy equipment or paid courses. Basic skills are available through YouTube videos and free lessons.
How long does it take to improve my photos?
One to two weeks of daily practice is enough to see noticeable improvement. Take 10-20 photos daily, applying one tip at a time.
How do I advance in mobile photography?
Start by enabling the grid for the
Third, try the Pro mode, then share your photos in photography communities to get feedback. Keep learning and practicing.